Capturing the beauty and intricate details of carpets in photographs can be a daunting task. But with the right tips and tricks, you can take professional-looking photos of carpets that will wow your audience. In this blog post, we’ll explore 10 essential photography tips for taking amazing pictures of carpets.
Tip #1: Use the Right Lighting
Carpet photography can be tricky. The reflective nature of carpets can create glare and hot spots that ruin pictures. But with the right lighting, you can take great photos of carpets that capture their texture, patterns, and colors. Here are some tips for getting the best results:
- Use indirect natural light whenever possible. Soft, diffused light is ideal for taking pictures of carpets. Avoid direct sunlight, which can create harsh shadows and highlights.
- If you are using artificial light, use multiple light sources to avoid creating hot spots. A mix of incandescent and fluorescent light works well.
- Experiment with different angles to find the best view of the carpet. You may need to get down on the floor to get a good shot.
Tip #2: Experiment with Different Angles
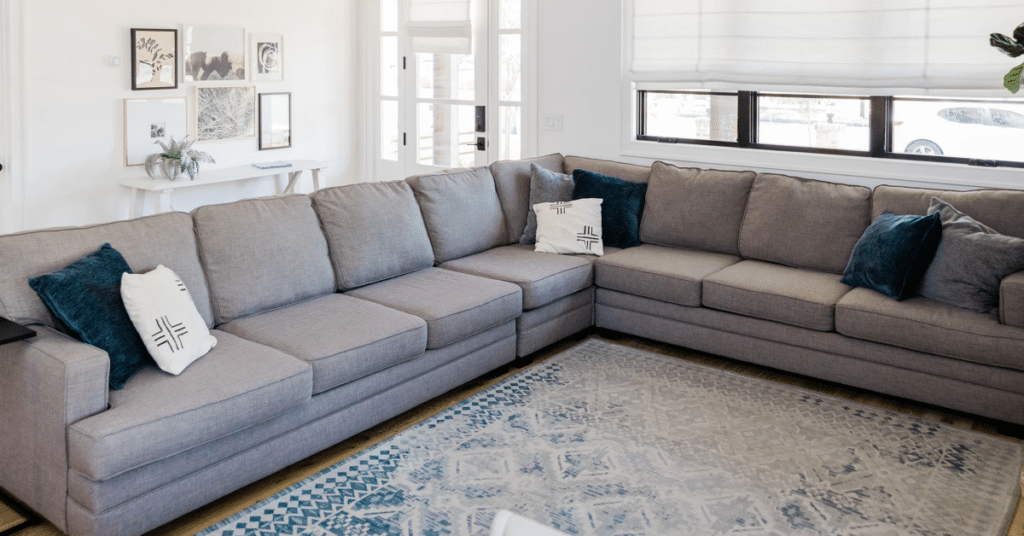
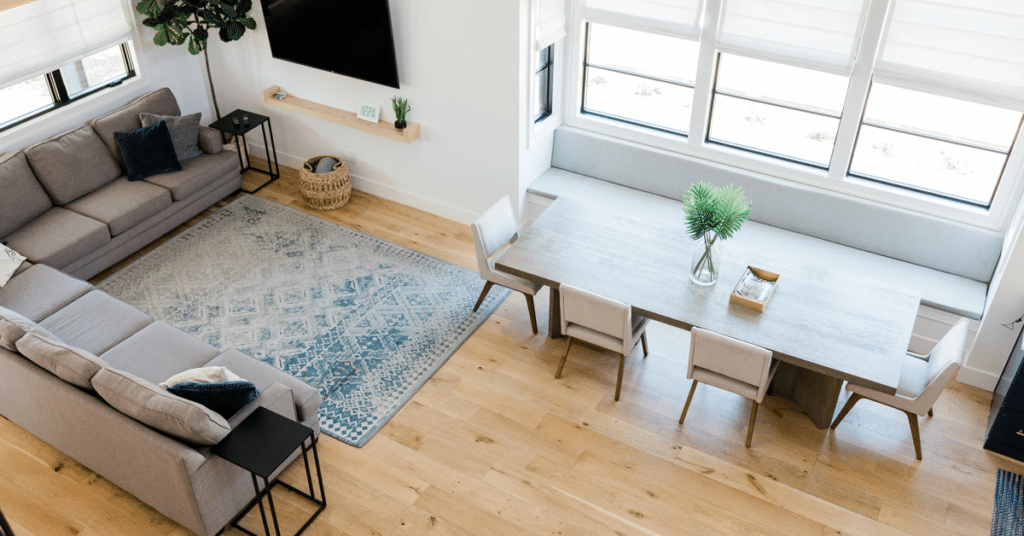
Don’t be afraid to experiment with different angles when taking pictures of carpets. Try shooting from above, below, or at an angle to capture unique views of the carpet’s pattern and texture. Additionally, consider getting close-up shots of particular patterns or motifs so that they stand out more in your photo.
Carpeting comes in a wide variety of colors, patterns, and textures, making it a popular choice for both home and business owners. When taking pictures of carpets, it is important to experiment with different angles in order to capture the true beauty of the rug.
A low angle will emphasize the patterns and colors, while a high angle can give the carpet an airy and light look. photographing from an extreme close-up can also be effective in showcasing intricate details. By playing around with different perspectives, you can create unique and stunning images that accurately represent the carpet.
Tip #3: Utilize a Tripod
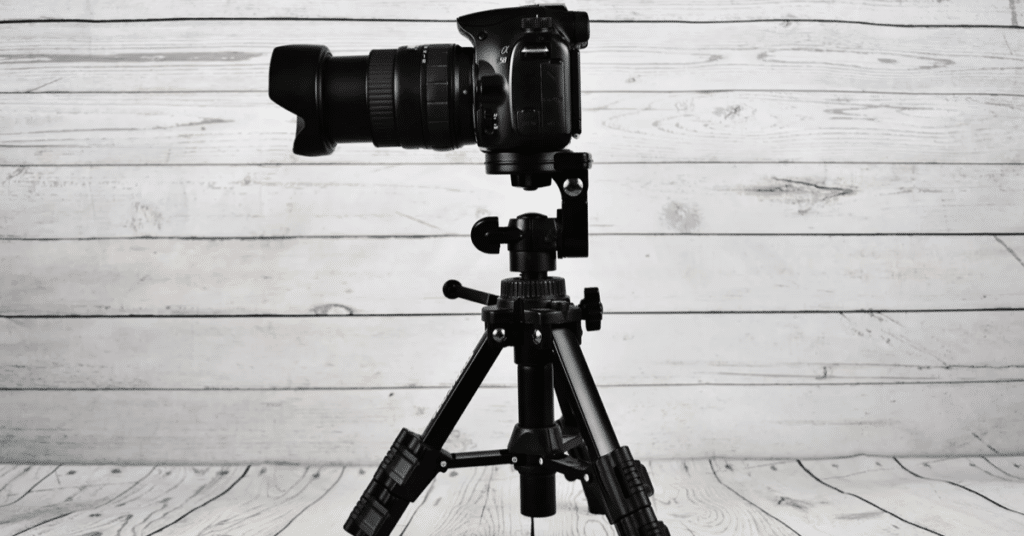
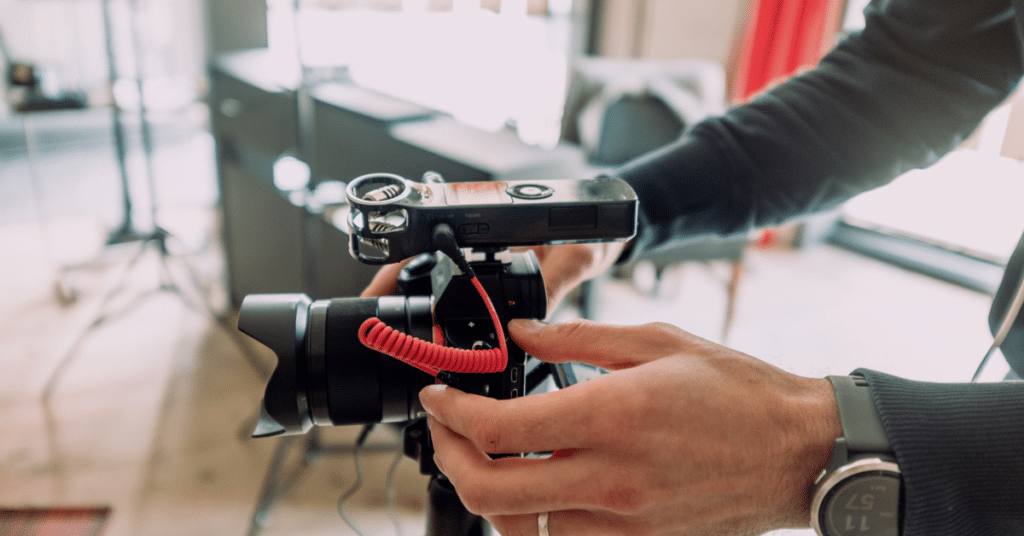
Using a tripod will help keep your camera steady while you’re shooting so that you don’t end up with blurry images due to camera shake. It also allows you to set up multiple shots quickly and easily without having to adjust settings each time—saving you time and energy! Plus, if you plan on taking multiple shots from different angles, a tripod ensures that there won’t be any inconsistencies between them due to camera movement during shooting.
A tripod will allow you to keep your camera still while taking the picture, preventing any blurriness or shaking. In addition, using a tripod will give you the ability to take multiple pictures from different angles without having to move your camera around, allowing you to get the perfect shot.
When setting up your tripod, be sure to place it on a level surface and extend the legs fully. Once your camera is attached, adjust the height and angle until you’re happy with the composition of the shot. Then, simply press the shutter button, and voila! You’ll have a beautiful, clear picture of your carpet that’s ready to be shared with the world.
Tip #4: Avoid Shooting Into Direct Sunlight
While direct sunlight can sometimes create interesting effects in photos, it should generally be avoided when photographing carpets as it can cause glare and wash out colors. Instead, try shooting during overcast days or early mornings/late evenings when the sun isn’t too strong so that all the details in your photos are visible without any glare obscuring them.
The intense light can cause the colors in the carpet to appear washed out or faded, and it can also create glare that makes it difficult to see details. Instead, try to take pictures on a cloudy day, or in shady areas where the light is diffused.
If you must take pictures in direct sunlight, try to position yourself so that the light is coming from behind you, and use a flash to help fill in any shadows. With a little care, you can take pictures that accurately represent the colors and patterns in your carpet.
Tip #5: Use Editing Software
Once you’ve taken all your pictures, use photo editing software like Adobe Lightroom or Photoshop to tweak any imperfections such as color balance or exposure issues if necessary before sharing them online (or print them off). This will help ensure that all your images look their best before being seen by potential customers or clients!
Editing software like Adobe Lightroom or Photoshop are invaluable tools for making subtle tweaks after shooting has finished; just be sure not to overdo it since too much editing could end up detracting from your photo’s overall impact rather than enhancing it.

Tip #6: Set Up Your Camera Properly
Before you start shooting, make sure your camera settings are adjusted correctly in order to get the best results. Set your ISO low (100-200) to reduce noise in your photos, set your shutter speed between 1/100th – 1/200th sec., and set your aperture wide open (f/2.8 or lower) to let in more light and blur out the background. It’s also important to set your white balance correctly depending on the type of light you are using (natural vs artificial).
Tip #7: Avoid Distracting Elements
When photographing carpets, try to avoid any distracting elements such as cords, wires, furniture legs, etc., which can ruin an otherwise perfect shot! Move any furniture away from where you’ll be shooting if necessary; this will help ensure that there are no distractions in your frame when capturing beautiful carpet shots!
Experiment with different angles in order to find one that reveals the most interesting elements or patterns within the rug’s design while also emphasizing its overall shape and size relative to its environment (if applicable). Don’t be afraid to shoot from above or below as well; these perspectives can often lead to stunning results!
Tip #8: Focus On Details
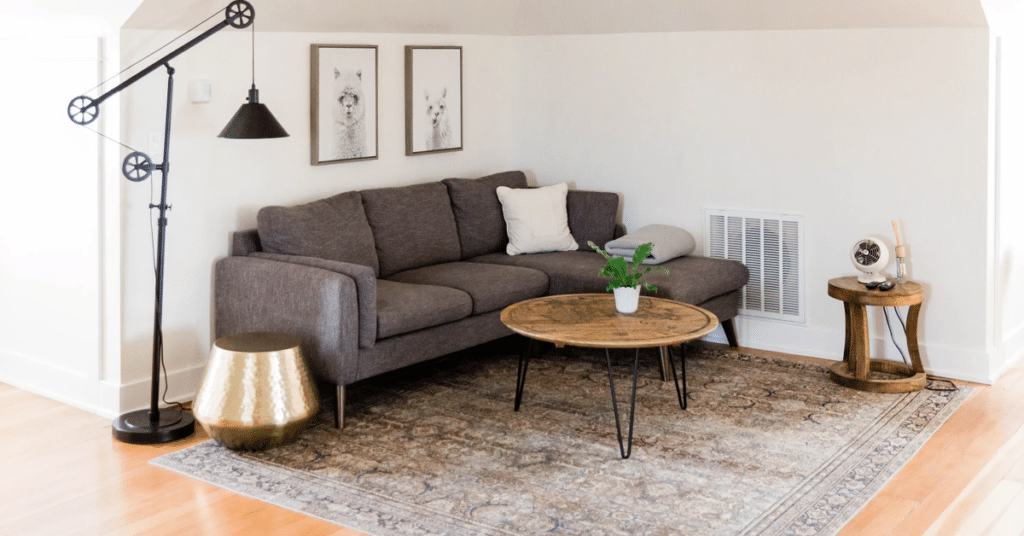
When taking pictures of carpets, focus on details like patterns or textures that make them unique and special. Use different angles such as close-ups or high angles for interesting perspectives, or include small props like pillows or plants in order to add some color and dimensionality to the shot. This will help bring out all the details that make carpet photography so captivating!
Tip #9: Get Close
When taking pictures of carpets, it’s important to capture close-up details such as pattern, texture, and color variations that may not be visible from farther away. This will also help draw attention to certain elements within the carpet design that could otherwise get lost in a wider shot taken from far away.
Tip #10: Use Contrasting Colors
Contrasting colors can lend even more drama and visual interest when shooting carpets photographs so consider pairing solid-colored rugs with contrasting walls or furniture pieces as part of your setup if possible!
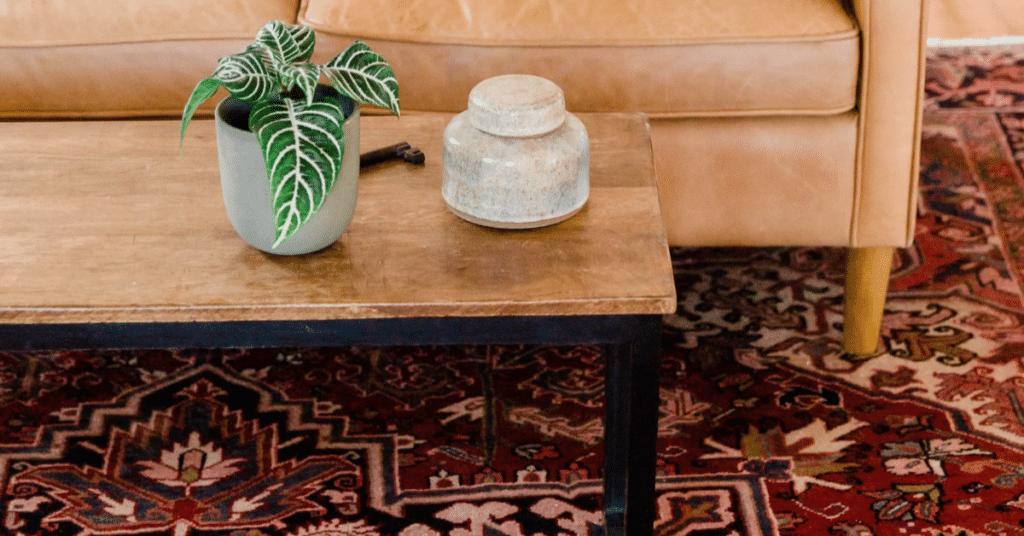
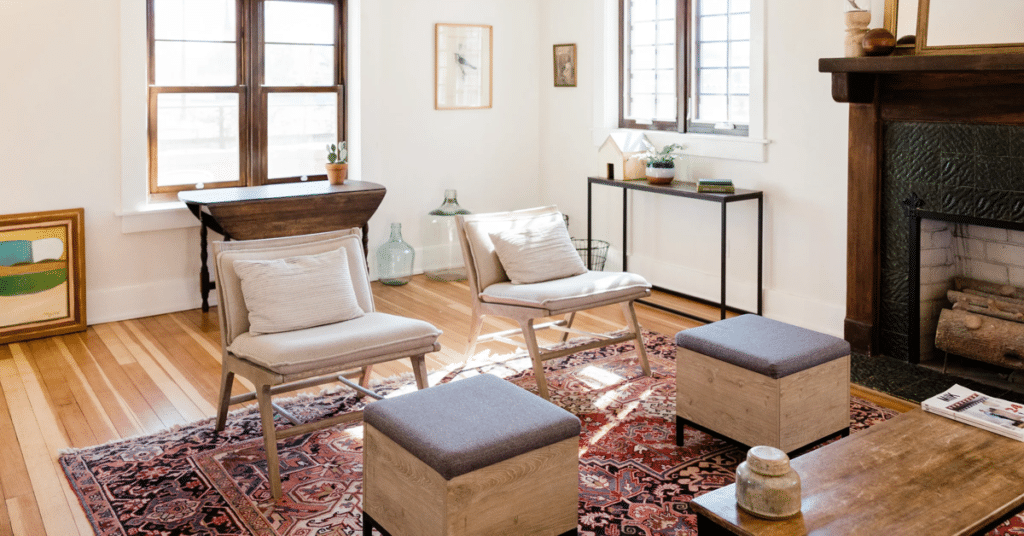
Props are great for adding context and creating more visually interesting compositions. If available, try using items like plants, furniture pieces, books, candles, etc., which can add dimensionality and give viewers more insight into how they might use the carpet themselves at home or workspace environment.
If you ever need a professional carpet cleaning service, like rug cleaning or carpet stain removal, call or visit Carpet Cleaner. First, you will need to find the right company in your area that offers quality services at a reasonable price. To do this, you can search online or ask around for recommendations from friends or family who have used the service before. Once you have identified the company you would like to use, contact them and discuss your needs.
Conclusion
With these 10 essential photography tips for taking amazing pictures of carpets in hand, you’ll now be able to capture gorgeous images of carpets like a pro! Remember—experiment with different angles and lighting setups until you find what works best for each particular shot; practice makes perfect!
